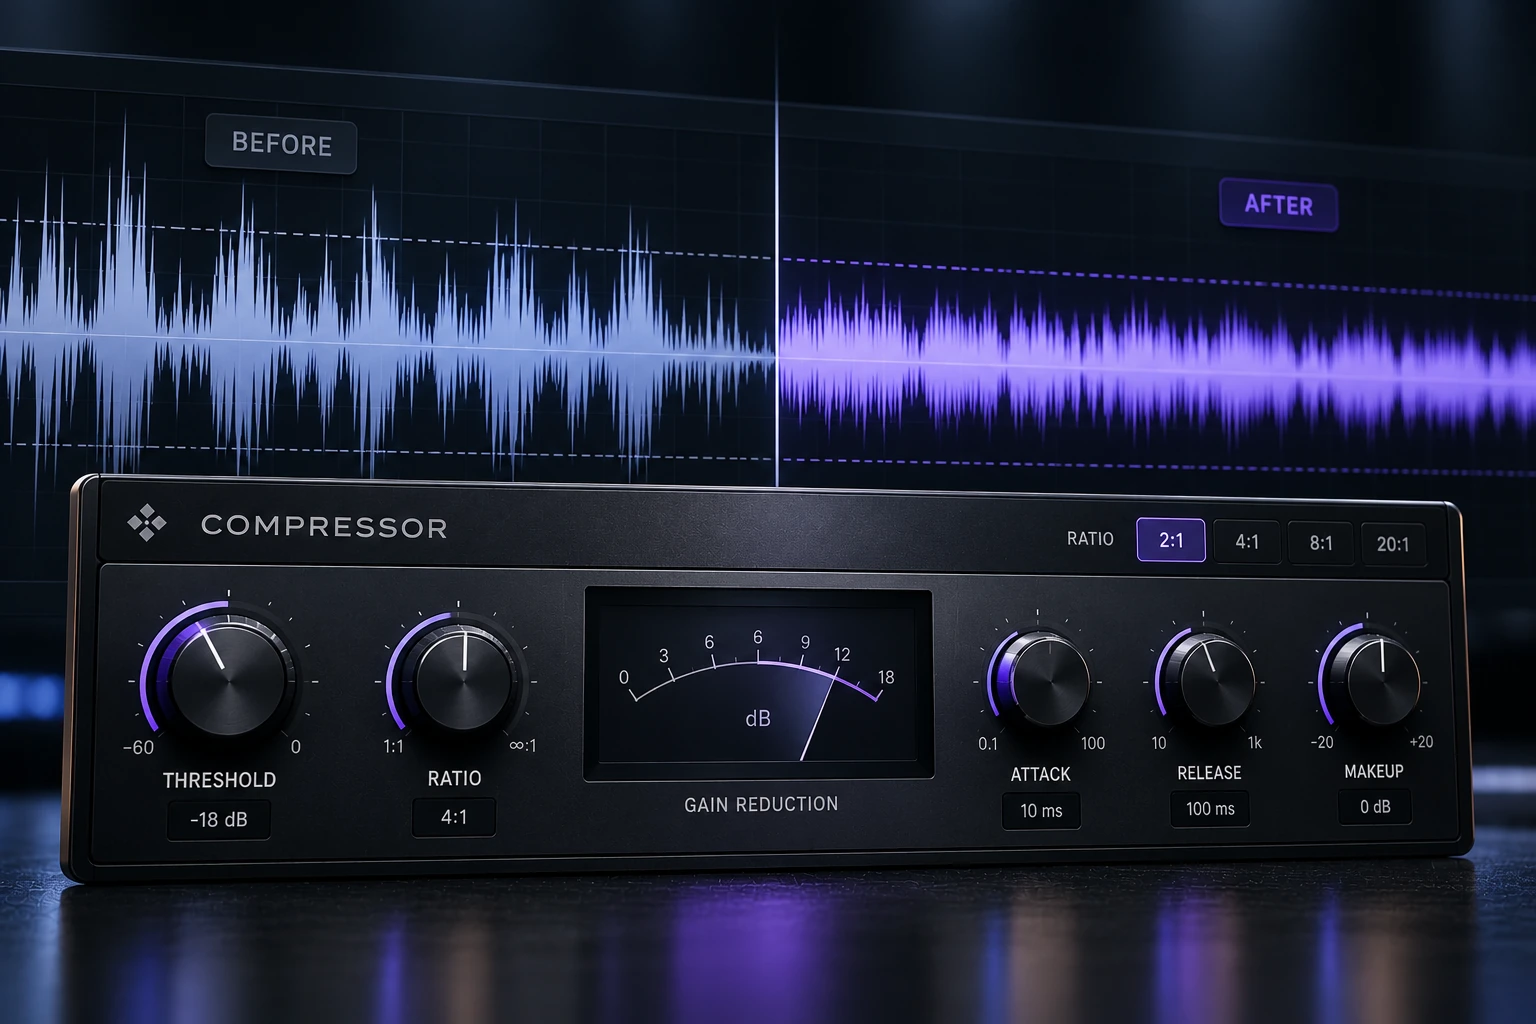

Moving an EQ before a compressor can change more than the tone: it can change what makes the compressor react. Putting the same EQ afterward shapes the already-compressed signal without feeding that adjustment back into an ordinary serial compressor. Use the first order when the incoming frequency balance is causing unwanted gain reduction, and the second when you want to refine the tone after the dynamics feel right. A small corrective EQ before compression and a separate finishing EQ afterward can also be useful, provided each has a clear job.
Choose the order by what needs to change
| Situation | Useful starting order | Reason |
|---|---|---|
| Unwanted rumble makes the whole track duck | Corrective EQ, then compression | Remove the unwanted energy before it reaches the detector |
| The dynamics feel right but the tone needs more air | Compression, then EQ | Adjust the result without changing that compressor's reaction |
| Useful bass makes a bus compressor pump | Try the compressor's detector filter | Change detection without automatically removing bass from the audible signal |
| One phrase is louder but its tone is fine | Clip gain or automation first | A level problem does not necessarily need frequency correction |
| Both incoming balance and final tone need work | EQ, compression, then a second EQ | Give each stage a different purpose |
Why swapping the same two plugins changes the result
A broadband compressor generally applies one changing gain amount to the signal it processes. Its detector decides that gain from the signal level and its settings. When an EQ sits before it, cutting or boosting part of the spectrum changes the signal arriving at the compressor. Depending on the source and detector, that can alter the amount and timing of reduction across the whole track.
Suppose a vocal contains an unwanted low-frequency bump on a plosive. That bump may trigger a brief gain reduction that also pulls down useful vocal detail. Removing some of the unwanted low end before compression can reduce that reaction. Moving the same cut after the compressor cannot retroactively prevent the ducking that already happened.
The reverse situation matters too. Adding a large bass shelf before a compressor may make low notes drive it harder, so the apparent tonal change is not simply the shelf curve you drew. Adding that shelf afterward retains more of its direct tonal effect, although any later limiter, saturator or bus compressor can still react to the added energy.
EQ before compression: solve an input problem
Place EQ first when there is a specific part of the incoming sound you do not want controlling the compressor. That might be microphone rumble, an overly resonant bass note or a fixed recording coloration. The decision should come from listening to the source alongside the gain-reduction meter, rather than automatically inserting a high-pass filter on every track.
Start with the smallest useful change. For a vocal with rumble below its musical content, bring a high-pass filter upward gradually, then stop before the voice loses needed weight. There is no universal cutoff for every singer. A low male voice, an airy backing vocal and a spoken sample can all call for different treatment.
Now revisit the compressor threshold. After removing energy, the original threshold may produce less reduction. That is not evidence the EQ failed; the compressor is receiving a different signal. Decide whether you wanted less triggering or whether you still need roughly the earlier amount of overall control.
Cutting before compression is a starting choice, not a rule
An intentional boost before compression can be useful when you want a frequency region to influence the envelope more strongly. For example, emphasizing the body of a drum loop may make its compressor move with the kick. That can be a creative pumping choice, but it is a different goal from keeping the bus steady.
Likewise, a corrective cut after compression can be sensible if the compressed sound itself reveals too much body or edge. “Cuts first, boosts last” is easy to remember, but it does not explain the result you are trying to make. Name the problem before choosing the position.
EQ after compression: finish the sound you are keeping
Use EQ afterward when the compressor is already producing the movement you want. You might like the consistency of a lead vocal but want a little more brightness, or like a bass part's envelope but want less upper-midrange growl. A post-compression EQ lets you make that tonal decision without changing the preceding compressor's input.
As a suggested vocal exercise, try a gentle high shelf with about 1 dB of gain, placed where it adds useful brightness to that voice. Compare complete words rather than just held vowels. If consonants become distracting, reduce the shelf or address those sounds separately rather than insisting that every vocal needs an “air” boost.
Check the output meter afterward. A boost can create peaks above the level coming out of the compressor. Compression is not a promise that the rest of the chain cannot clip, and an EQ after a peak limiter can change the final peak level. Leave enough headroom and inspect the last stage in the actual routing.
A fair A/B test in your own session
Start with a short section that includes the problem and a quieter section that should remain natural. The following test uses the same EQ curve in both positions. It separates the effect of the order from the temptation to redesign the entire chain while comparing it.
- Save the project or duplicate the processing chain so you can return to the baseline.
- Choose a moderate, clearly audible EQ move and a compressor setting that produces visible reduction on the louder events.
- Listen with EQ before compression. Note which words, notes or hits trigger the largest reduction.
- Move EQ after compression while keeping its settings and the compressor settings unchanged.
- Match the two chain outputs with a final trim after both processors. Avoid using a gain change before the compressor to level-match, because that changes its behavior.
- Compare the groove, articulation and tonal balance in the mix, then check the quieter section.
This first pass shows how order changes the behavior at fixed settings. For a second pass, adjust the threshold independently in each chain to achieve the amount of control you actually want, then level-match again. That answers a different question: which order gives you the better finished sound after normal adjustment?
Keep the output trim after the entire chain in both passes. Otherwise a level-matching adjustment can change the compressor response you are trying to compare.
How to test the order in FL Studio
FL Studio's Mixer processes its ordinary effect slots from top to bottom. On the track you want to test, place Fruity Parametric EQ 2 above your compressor to EQ first, or below it to EQ afterward. Leave each slot's external mix control at 100% for this simple serial comparison so an unintended dry/wet blend does not complicate the test.
To reorder an effect, focus the Mixer and use the mouse wheel over the effect slot name. Verify the resulting position before playback. Patcher and send routing can create more complex paths, so this top-to-bottom exercise assumes a straightforward Mixer insert chain.
Use a stock compressor you already understand. You do not need a paid EQ to hear the difference between these orders. If a compressor's threshold, attack and release controls are still unfamiliar, practice changing one at a time before drawing a conclusion about the signal chain.
Three source-specific decisions
Lead vocals: do not EQ around every level change
If one phrase is simply too loud, reduce that phrase with clip gain or automation before trying to solve it with EQ. A tonal adjustment may make the phrase quieter by removing useful body, which leaves a different problem behind. Use corrective pre-EQ when there is a genuine frequency imbalance, and let level work handle level differences.
After compression, check whether breaths, room sound or sibilance have become more noticeable in the new balance. A high shelf may emphasize those details as well as the desirable air. Our guide to harsh vocals helps distinguish upper-midrange edge from sibilance, while placing vocals in the mix covers the broader balance.
Bass: preserve weight while controlling movement
With bass, compare how the compressor responds to different notes before cutting low frequencies. A low note that is intentionally powerful is not automatically a defect. If a particular resonance dominates the detector, a targeted correction can help; if the whole part is consistently too heavy, a simple tonal adjustment may be enough.
Also check the instrument envelope and note overlap. A compressor chain cannot make an arrangement decision about how long an 808 should ring. For low-end timing and separation, use our kick and 808 guide alongside this order test.
Drum buses: audible EQ and detector EQ do different jobs
If you like the kick's weight but dislike how it pulls down the drum bus, try the compressor's sidechain high-pass filter if one is available. In a typical detector-filter implementation, this changes how strongly low frequencies influence compression without applying the same high-pass cut to the audible bus.
The gain reduction can still affect the whole bus; a detector filter does not turn a broadband compressor into a multiband compressor. Read the plugin's routing description and compare both results. If you actually dislike the low-frequency content itself, audible EQ may be the appropriate fix instead.
When two EQs make sense
Use a first EQ for a defined input correction, the compressor for envelope control, and a second EQ for the final tone. For example, a restrained rumble cut can precede vocal compression, while a subtle finishing shelf follows it. The two EQs are not redundant if they address different stages of the sound.
Bypass each stage individually. If removing one makes no useful difference, remove it from the chain. Avoid building opposing boosts and cuts merely because a template includes multiple EQ slots. For tone that changes only on certain events, our dynamic EQ comparison explains another tool worth evaluating.
Optional plugins for comparing the two orders
FabFilter Pro-Q 4 is a paid EQ option if you want a detailed spectrum display and dynamic bands alongside ordinary cuts and shelves. For the order exercise, begin with a static curve so dynamic EQ does not add another changing response. Your stock EQ remains suitable for learning the same signal-flow difference.
TDR Kotelnikov GE is a compressor option when you also want loudness-matched bypass and a gain-reduction limit for bus work. Keep its timing fixed while moving the EQ, then revisit the threshold only for the second comparison. Those additional controls are a purchase consideration for regular mixing, rather than a requirement for this test.
Conclusion
Put EQ before compression to influence what reaches the compressor; put it afterward to shape the compressed result. Use both positions only when each solves a distinct problem. Test the order at matched output levels, revisit the threshold when the input changes and judge the result in the song.
References: iZotope on EQ and compression order and Image-Line effect-slot documentation. Checked November 17, 2026.


