
Record a single microphone or a single guitar DI in mono. Record in stereo when you have two channels that intentionally describe different parts of the sound, such as a stereo microphone pair or a keyboard patch with meaningful left/right movement.
A mono recording can sit in a stereo mix and feed stereo effects. You do not need a stereo audio file to make a lead vocal sound polished or to hear it through both speakers. The decision is about what you capture, not how many speakers you own.
Mono or stereo: choose by the source
| What you are recording | Usual starting choice | Reason |
|---|---|---|
| Lead vocal through one microphone | Mono | There is one microphone signal to capture. |
| Bass or guitar through one DI output | Mono | One output carries one channel of audio. |
| Acoustic instrument with a deliberate stereo mic pair | Stereo pair or two linked mono tracks | The relationship between the microphones creates the image. |
| Keyboard with a stereo patch and two outputs | Stereo, if the width matters | The two outputs can contain different effects or sample information. |
| Two people using separate microphones | Two separate mono tracks | Each voice needs independent editing and processing. |
| A mono vocal with stereo reverb while monitoring | Mono dry capture, unless deliberately printing effects | Keep the performance separate from the effect when you want later control. |
A mono signal is not the same thing as a left-only signal
Mono means one channel of information. In a normal stereo mix, a centred mono track is distributed to the left and right output. You hear it from both speakers, with the impression of a source in the middle.
A stereo file has two channels. They may contain different information, the same information, or audio on one side and silence on the other. The file format alone does not tell you whether the recording has useful stereo width.
Two identical channels are commonly described as dual mono. They do not create a wider image simply because there are two of them. Likewise, duplicating a vocal, panning one copy left and the other right, and changing nothing else does not produce a genuine double-track.
Why a DAW can show two meters for a mono source
Some DAWs use stereo mixer channels even when the source is mono. That is not necessarily a problem. Separate three questions: which physical input is selected, what information is being recorded, and how the mixer routes it to the outputs. A two-channel display does not mean you need two microphones.
Should you record vocals in mono or stereo?
For a close lead vocal recorded with one microphone, mono is the practical default. It gives you a focused source that can be panned, compressed and placed in the mix without committing to room width at recording time.
That does not restrict the finished vocal to a narrow sound. Stereo delay, reverb, backing vocals and separately performed doubles can build a wider arrangement around the lead. Keep the central performance intelligible and let those other parts provide space. Our guide to making vocals sit in the mix covers that placement in more detail.
Stereo vocal recording makes sense when the space or ensemble is part of the performance: a choir, several singers around a stereo setup, or a room perspective you deliberately want to preserve. It also captures more decisions you may not be able to undo later. For a typical bedroom lead take, adding a second microphone without a clear purpose usually adds work rather than quality.
How to avoid recording on only one side in FL Studio
A common cause is selecting an input pair when your microphone is connected to only one input. For example, a mic in Input 1 can appear only on the left if the selected pair is Inputs 1–2.
- Select the Mixer track receiving your microphone. Open its external audio input menu.
- Choose the individual mono input. Image-Line places stereo pairs in the upper part of the list and mono choices below. Select the input containing your mic.
- Check the monitoring path. With normal centred routing, the signal should be audible from both speakers or headphones.
- Make a short test recording. Play it back before recording the complete performance.
FL Studio's mixer tracks are stereo, and its mono input choice copies the active input to both sides. Do not assume that this guarantees a single-channel saved file in every recording workflow. Image-Line explains this behaviour in its audio recording documentation.
When stereo recording is worth keeping
Before committing two channels, listen to what each contributes. A keyboard patch might have a wide chorus, a stereo piano sample, or a delay that alternates between sides. Capturing only one output could lose an important part of that sound.
Record a short example, then compare it in stereo and folded to mono. Ask whether the width serves the arrangement and whether the central tone remains usable. A wide pad may be exactly right for a sparse verse but compete with guitars and backing vocals in a dense chorus.
If you plan to create the space with plugins later, consider recording a dry version as well as any processed stereo version. That preserves an alternative if the printed effect clashes with the mix. Label both clearly so you do not accidentally treat them as unrelated performances and stack them at full level.
Two microphones do not automatically mean one stereo instrument
A close microphone and a distant room microphone have different jobs. You may want independent levels, EQ and automation rather than treating them as a fixed left/right pair. The same applies to two singers or an amp microphone alongside a DI.
Capture those signals on separate tracks when independent control matters. You can still group them for editing. A stereo file is convenient for a coherent stereo pair, but it is not a requirement for recording two signals at the same time.
Check phase before a full stereo take
When two microphones capture the same source, sound reaches them at different times. Combining those recordings can reinforce some frequencies and reduce others. A setup that sounds spacious in stereo may become thinner when summed to mono.
Before recording the full performance, listen to the pair in stereo and mono at sensible playback levels. Pay attention to the instrument's body, not just the apparent width. If the tone changes dramatically, adjust microphone placement and listen again. Check each microphone alone to understand what it contributes.
A polarity switch can be a useful diagnostic tool, but it does not correct every time difference between microphones. Nor should you automatically align every waveform: the timing relationship may be part of the intended stereo perspective. Choose a placement and technique that produces a useful result before relying on repair tools.
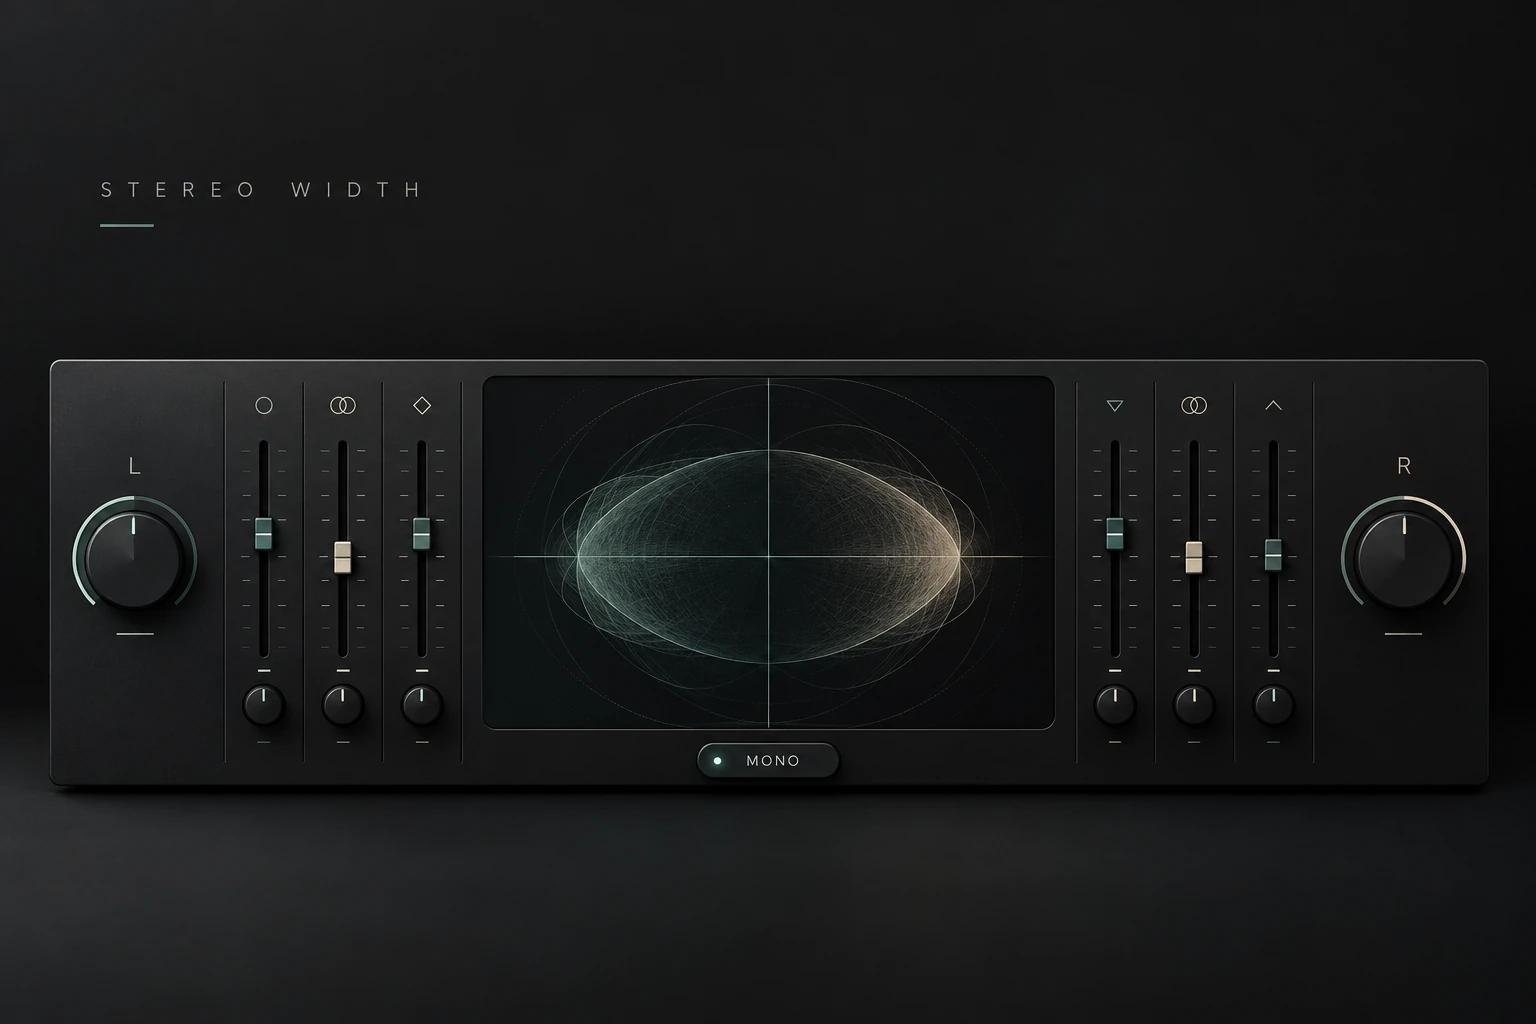
A1StereoControl is a free option for auditioning stereo width during playback. Place it on a stereo playback bus, narrow the image and compare with bypass while listening to the instrument’s body. Keep the original recording intact and use your DAW’s mono monitoring for the final compatibility check. Check the available plugin formats against your system before installing.
Fix an existing left-only recording
If the file contains your complete mono performance on one side and silence on the other, you usually do not need to record it again. Preserve the original, extract or select the active channel in your audio editor, and use that as a centred mono source.
Check the result against the original at a matched listening level. Conversion tools can use different summing or gain rules, so a level change does not mean the performance has improved or deteriorated.
Do not blindly sum both channels if they contain different performances, unwanted noise, or an out-of-phase signal. First listen to the left and right channels separately. The correct repair depends on what is actually in the file.
Recording problems that are not caused by mono
| What you hear | Likely area to inspect | First action |
|---|---|---|
| A delayed version of your own voice | Software monitoring latency | Check buffer settings and latency-heavy plugins. |
| Two copies or a hollow monitoring sound | Direct monitoring plus DAW monitoring | Audition one monitoring path at a time. |
| The recording includes the backing track | Recording source or bus routing | Check which signal the recorder is capturing. |
| A centred voice sounds too narrow in the finished song | Arrangement and effects | Build space around the lead after capturing a clean take. |
| The stereo instrument loses body in mono | Interaction between its channels | Inspect the source, effects or microphone relationship. |
For the first problem, use our FL Studio latency guide. Changing a mono input to a stereo pair does not solve a delayed monitoring path.
Should the final mix be mono or stereo?
A mix containing mono recordings can still be exported in stereo. The final output includes your panning, stereo instruments and stereo effects. There is no need to convert every source file into stereo first.
For individual stems, follow the recipient's delivery requirements. A dry mono vocal and a stereo vocal-effects return can be useful separate deliverables, while some workflows request every stem in stereo for consistency. State what each file contains and keep shared start positions when the files need to line up.
See our FL Studio export settings guide for the delivery stage. If your real goal is a wider finished production, our stereo width guide covers the mix decisions after recording.
Conclusion
Capture one signal in mono and preserve stereo when the relationship between two channels matters. Make a short recording, check both sides, and listen in mono before committing to a long take. That simple check is more valuable than choosing stereo because it sounds like the higher-quality option.


