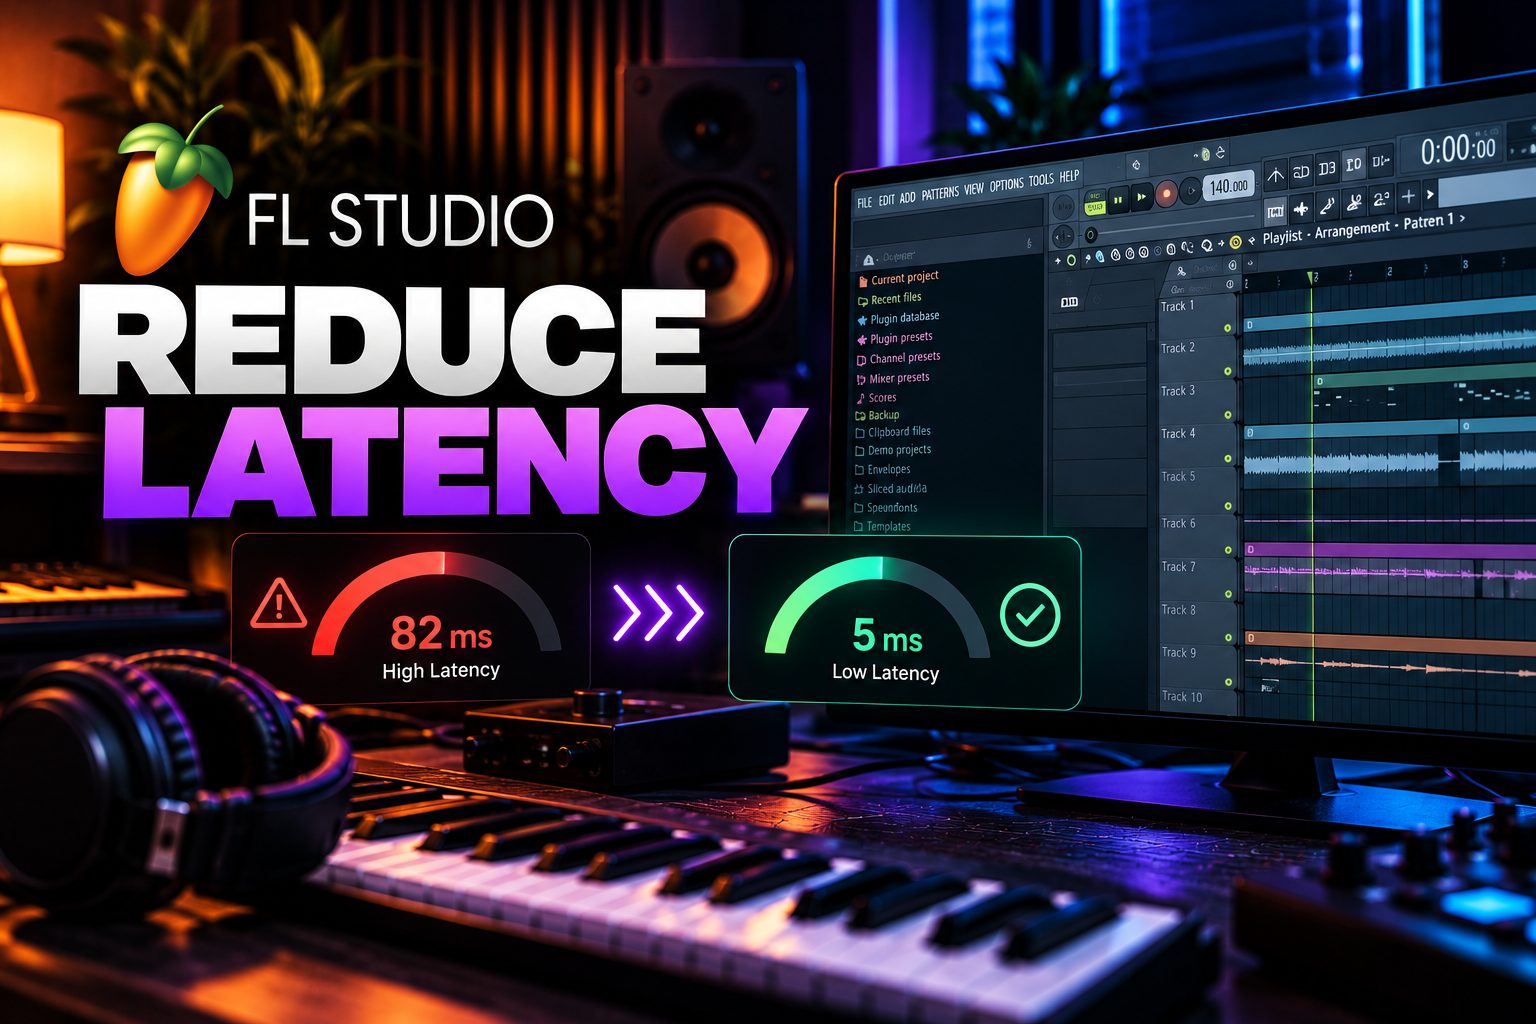

If FL Studio feels delayed when you record vocals, play a MIDI keyboard or monitor a guitar, the main cause is usually audio latency. That delay is created by the time your computer needs to capture, process and play the signal back through your audio device.
The fastest fix is usually a smaller audio buffer and the correct driver. But lowering the buffer too far causes the opposite problem: crackles, pops and audio underruns.
Quick fix: go to Options → Audio settings. On Windows, select your audio interface's native ASIO driver if it has one. Then lower the buffer until monitoring feels responsive, but stop before the underrun counter starts increasing or the audio crackles.
What causes latency in FL Studio?
Latency is not one single delay. Several stages can add time between what you play and what you hear:
| Source of delay | What it means | Best first fix |
|---|---|---|
| Audio buffer | FL Studio waits for a block of audio before sending it to your device | Lower the buffer |
| Audio driver | Generic drivers can add more latency than a proper low-latency driver | Use native ASIO on Windows |
| Plugin delay compensation | Some effects introduce processing delay that FL Studio compensates for | Disable or bypass high-latency plugins while recording |
| Software monitoring | Your live input travels into FL Studio and back out again | Use direct monitoring if your interface supports it |
| Heavy project CPU load | A very small buffer may no longer be stable | Render/freeze tracks or record in a lighter project |
| Recording alignment | The recorded clip lands late even when monitoring feels okay | Use latency compensation or input delay compensation |
1. Lower the buffer size — but only as far as your project can handle
The buffer gives FL Studio time to calculate audio before your interface plays it. A smaller buffer reduces latency because FL Studio waits for fewer samples before sending the next block of sound.
The trade-off is CPU load. If the buffer becomes too short, FL Studio may not finish processing before the next block is needed, which causes clicks, pops and underruns.
Open Options → Audio settings and change the buffer from the ASIO panel on Windows or directly in FL Studio on macOS.
| Use case | Good approach |
|---|---|
| Recording vocals | Use the lowest stable buffer that does not crackle |
| Playing a MIDI keyboard live | Use a low stable buffer for responsive playing |
| Producing / arranging | Use a moderate buffer for a balance of responsiveness and stability |
| Mixing | Use a larger buffer; low monitoring latency is usually unnecessary |
Image-Line currently recommends roughly 10–20 ms, around 440–880 samples, as a normal range for Intel and AMD systems. For live recording, use the smallest stable setting without increasing underruns.
On Apple Silicon Macs, Image-Line specifically recommends starting at 128 samples, then trying 192, 256, 512 or 1024 if needed. Their documentation notes that 128 samples can help activate the performance cores.
If lowering the buffer makes FL Studio crackle, see our FL Studio crackling and audio underrun guide.
2. Use your audio interface's native ASIO driver on Windows
If you own a USB or Thunderbolt audio interface, install its official driver and select it in Options → Audio settings → Device.
Image-Line currently recommends Windows drivers in this order for low-latency performance:
Native ASIO driver → ASIO4ALL → FL Studio ASIO.
FL Studio ASIO is designed for compatibility and works well in many setups, but it sits on top of the Windows audio system and may not achieve the same low stable latency as a dedicated interface driver.
If you are recording regularly, the manufacturer's native ASIO driver is the first option I would test.
3. Do not confuse buffer latency with recording alignment
Sometimes the live monitoring feels acceptable, but the newly recorded audio lands late in the Playlist. That is a different issue from hearing an echo while recording.
FL Studio has Latency compensation in the Mixer recording options. This shifts the recorded clip to compensate for the audio device's reported latency.
Important: that setting changes where the recording is placed. It does not make the live monitored sound arrive sooner.
If recordings are still consistently early or late after normal latency compensation, FL Studio also provides Audio Input Delay Compensation for measured timing errors.
4. Use direct monitoring for vocals and instruments when possible
Software monitoring sends your microphone or instrument into the computer, through FL Studio, then back to the audio interface. Every buffer and plugin in that path adds delay.
Direct monitoring routes the live input through the audio interface itself instead of waiting for FL Studio to process the round trip.
If your interface has a Direct Monitor switch, mixer knob or control-panel option, this is often the easiest way to record vocals or guitar with near-immediate monitoring while keeping FL Studio at a safer buffer size.
The trade-off is that you may hear the dry input rather than every plugin in your FL Studio vocal chain.
5. Bypass high-latency plugins while recording
Some plugins introduce their own delay. FL Studio uses Plugin Delay Compensation so tracks stay synchronized, but this can make live monitoring noticeably slower.
Common examples are effects that use look-ahead, heavy linear-phase processing or other processing that needs to inspect audio before outputting it.
While recording, bypass anything you do not genuinely need in the monitor chain. Pay particular attention to plugins on:
the recording Mixer insert, buses the recording passes through, and the Master track.
Image-Line specifically notes that removing Plugin Delay Compensation from the recording path can significantly improve monitored latency.
After recording, turn the mix plugins back on.
6. Record into a lightweight project when the mix is already heavy
A project with many synths, reverbs, oversampled effects and mastering processors may not remain stable at the small buffer you want for recording.
Instead of forcing the entire mix to run at a tiny buffer, render the instrumental to a stereo WAV and create a lightweight recording project containing only that audio file and the recording chain.
Image-Line recommends this approach when low-latency monitoring is difficult in a heavy project.
After recording, move the vocal or instrument takes back into the full production session.
7. Check the FL Studio CPU meter if low buffers are unstable
A smaller buffer gives the CPU less time to complete every block of audio. If you lower the buffer and suddenly get crackling, the project is no longer finishing its work before the deadline.
Watch FL Studio's CPU meter and underrun counter rather than only Task Manager or Activity Monitor.
If one plugin is responsible for most of the load, double-click the CPU meter to open the Plugin Performance Monitor. Then lower expensive plugin settings or render that track to audio.
8. Reduce unnecessary oversampling and quality modes while recording
Many synths and effects have real-time quality, oversampling or high-resolution modes. Those settings can be useful for final rendering but may be unnecessary while tracking a vocal or playing a MIDI part.
If a plugin supports different playback and render quality settings, use a lighter real-time mode while recording and restore the higher quality for export.
This is often a better compromise than increasing the audio buffer when you need responsive monitoring.
9. Check whether the delay is MIDI input latency or audio monitoring latency
If a MIDI keyboard feels late but a microphone monitored directly through the interface does not, the delay is probably in the software-instrument path.
Your MIDI message reaches FL Studio, triggers the instrument, passes through any effects, enters the audio buffer and then reaches your speakers.
Lower the buffer first. Then bypass high-latency effects on the instrument and Master track.
If only one synth feels unusually delayed, test another instrument. A specific plugin can add its own latency even when the overall FL Studio setup is fine.
10. Do not chase 1–2 ms just because the driver allows it
A buffer setting is useful only when the system remains stable. Image-Line describes 1–4 ms without underruns as cutting-edge, 5–10 ms as excellent and 11–20 ms as good.
For most producers, moving from a clearly delayed setup to a stable low-latency setup matters much more than forcing the absolute minimum number shown by the driver.
A stable 8–10 ms setup is usually more useful than a 2 ms setting that crackles every few seconds.
Best FL Studio latency settings by situation
| Situation | Priority | Recommended approach |
|---|---|---|
| Recording vocals | Low monitoring delay | Native ASIO/Core Audio, low stable buffer, bypass PDC-heavy plugins or use direct monitoring |
| Recording guitar | Low monitoring delay | Direct monitoring if dry sound is okay; otherwise low stable software buffer |
| MIDI keyboard / piano | Fast response | Low stable buffer and lightweight instrument chain |
| Beatmaking | Responsive controls | Moderate buffer unless live playing feels delayed |
| Mixing | Stability | Raise buffer and leave more CPU headroom |
| Heavy mastering session | Maximum stability | Large buffer; monitoring latency usually does not matter |
Why is my microphone delayed in FL Studio?
If you hear your voice slightly after you speak, you are hearing the software-monitoring round trip. The microphone signal travels into the interface, through FL Studio's audio buffer and plugins, then back out to your headphones.
Lower the buffer, use your interface's native driver and bypass high-latency plugins. If your interface supports direct monitoring, that is usually the cleanest way to eliminate the audible monitoring delay.
Why is my MIDI keyboard delayed in FL Studio?
If you're new to the term itself, see our simple guide to what MIDI is.
MIDI itself is usually not the biggest part of the delay. The noticeable latency is often created after the MIDI note reaches the software instrument.
Lower the audio buffer and temporarily bypass effects with significant Plugin Delay Compensation. If the delay happens only with one instrument, test that plugin separately.
Why does my vocal record late even after lowering the buffer?
Monitoring delay and clip placement are separate issues. Lowering the buffer can make the live sound more responsive, but the driver can still report or produce a timing offset in the recorded file.
Turn on Mixer Disk recording → Latency compensation. If a consistent offset remains, use FL Studio's Audio Input Delay Compensation after measuring the error.
Should I use 128, 256 or 512 samples?
Use the lowest value that remains stable for the work you are doing.
128 samples is a useful low-latency target on many systems and is Image-Line's recommended Apple Silicon starting point.
256 samples is a common compromise between responsiveness and CPU headroom.
512 samples gives the CPU more time and is often a better starting point for larger Windows projects or mixing.
The exact best setting depends on the audio driver, CPU, project complexity and sample rate. The next article in this cluster will break buffer sizes down in more detail.
Does a higher sample rate reduce latency?
At the same buffer size in samples, a higher sample rate produces a shorter buffer duration in milliseconds. But it also makes the CPU process more audio samples every second.
That means raising the sample rate just to reduce latency can create more CPU load and is not the first fix I would use. Start with the correct driver and buffer size.
Does a better audio interface reduce latency?
It can. The quality of the driver and the way the interface handles low buffer sizes matter a lot.
A good interface with a well-written native ASIO driver can often remain stable at lower latency than a generic Windows audio setup.
But replacing hardware should not be the first step. Test the correct driver, buffer and plugin chain first.
Fast latency checklist
| Order | What to do |
|---|---|
| 1 | Select the proper audio driver |
| 2 | Lower the buffer until the system is responsive but still stable |
| 3 | Bypass high-latency plugins while recording |
| 4 | Use direct monitoring if your interface supports it |
| 5 | Check FL Studio's CPU meter and underrun counter |
| 6 | Render heavy instruments or record into a lightweight project |
| 7 | Use recording latency compensation if clips land late |
Frequently asked questions
What is good latency for FL Studio?
Image-Line describes 5–10 ms as excellent and 11–20 ms as good. The best setting is the lowest stable latency your system can maintain without underruns.
Does buffer size change audio quality?
No. Buffer size changes real-time latency and CPU headroom, not the inherent quality of the exported audio.
Why does FL Studio ASIO have more latency than my interface driver?
FL Studio ASIO is designed for broad compatibility and uses the Windows audio stack. A native interface ASIO driver communicates more directly with the device and can often reach lower stable latency.
Should I use ASIO4ALL or FL Studio ASIO?
If your interface has a native ASIO driver, use that first. Image-Line currently places ASIO4ALL ahead of FL Studio ASIO for low-latency performance when a native driver is unavailable, although the best choice still depends on your hardware and Windows setup.
Why does lowering the buffer cause crackling?
The CPU has less time to complete each block of audio. If it misses the deadline, FL Studio produces an underrun. Raise the buffer slightly or reduce the project's processing load.
Can plugins add latency?
Yes. Some plugins add processing delay, which FL Studio compensates for to keep tracks aligned. That compensation can make live monitoring feel slower.
Does latency compensation fix what I hear in my headphones?
No. Recording latency compensation fixes the placement of recorded audio. It does not remove the live monitoring delay. For monitoring, reduce the buffer, bypass high-latency plugins or use direct monitoring.
Final recommendation
For the fastest improvement, start with this order: use the correct driver, lower the buffer, remove high-latency plugins from the monitoring path and use direct monitoring when available.
If the system starts crackling after you lower the buffer, you have gone below the stable limit for that project. Raise it slightly or reduce the real-time processing load rather than forcing an unstable setting.
Official references
This guide follows Image-Line's current documentation. See the FL Studio Audio Settings manual, Audio Recording guide and performance optimization guide.
![[background image] image of recording equipment (for a musician & band)](https://cdn.prod.website-files.com/68efa70811edd8e5af30a90d/6acd43b8998701bbde84e11a_Best%20Export%20Settings%20for%20FL%20Studio.png)
![[background image] image of recording equipment (for a musician & band)](https://cdn.prod.website-files.com/68efa70811edd8e5af30a90d/6acd3f9347bd0dd62b202621_ShaperBox%203%20vs%20Infiltrator%202.png)
![[background image] image of recording equipment (for a musician & band)](https://cdn.prod.website-files.com/68efa70811edd8e5af30a90d/6acd3d99fa68785e0f58960e_Kontakt%208%20vs%20Decent%20Sampler.png)