
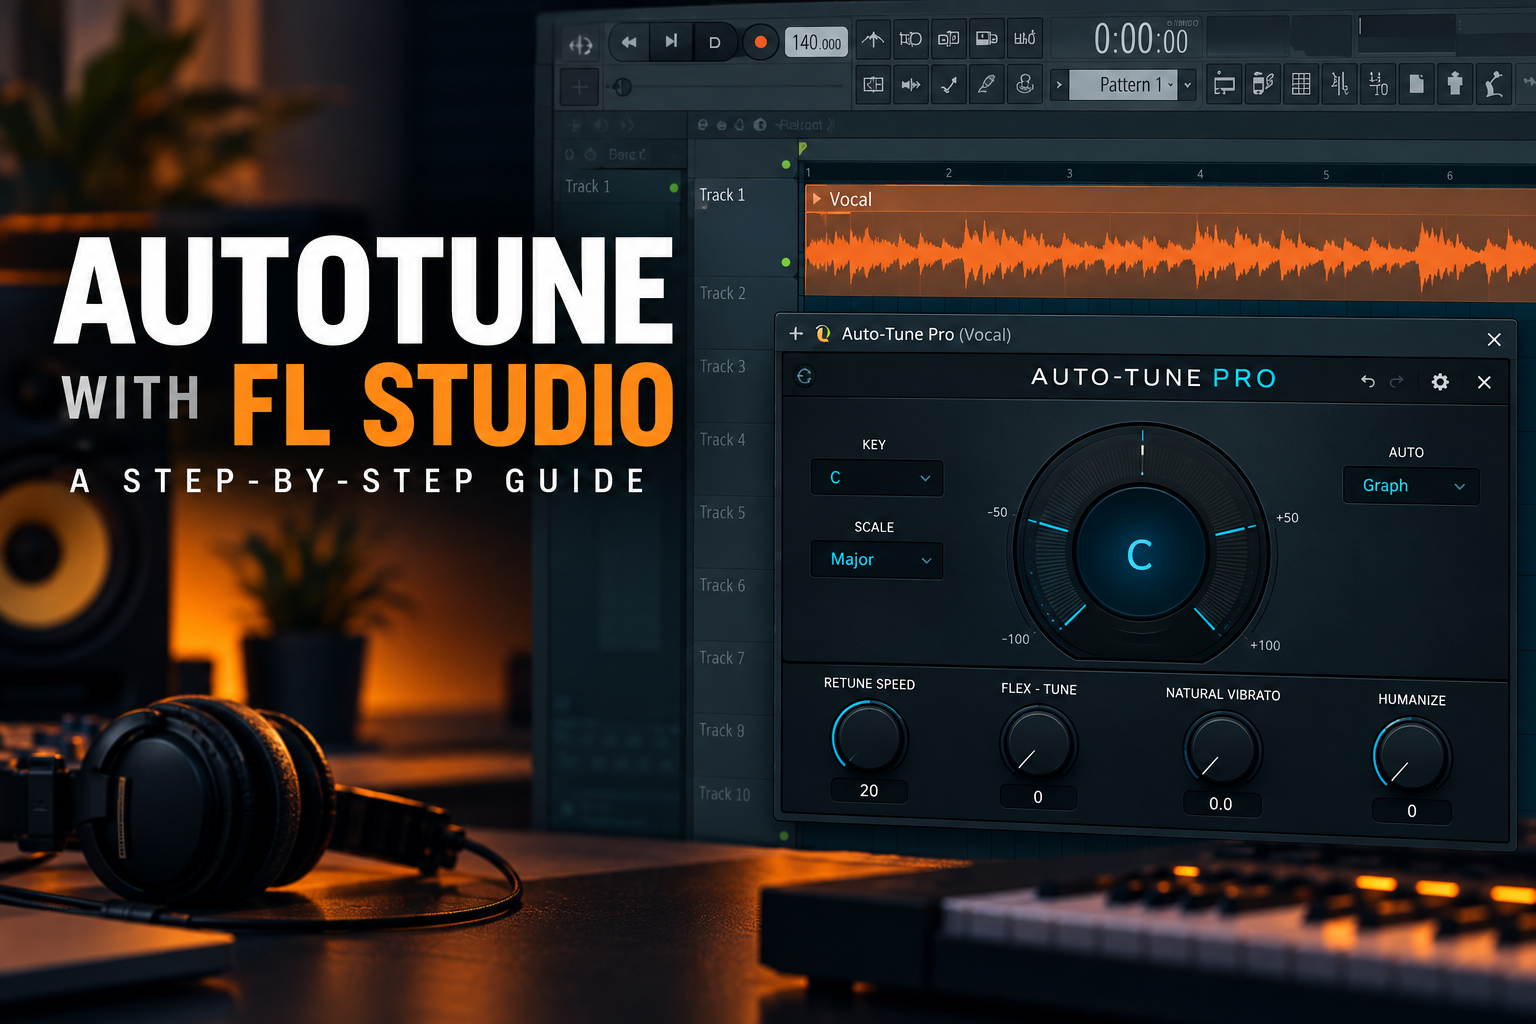

Your vocal sounds good, but a few notes are slightly off. You can fix them in FL Studio without recording the whole song again. You can also use pitch correction as an obvious vocal effect.
In this guide, you'll learn how to use autotune in FL Studio with Pitcher, how to edit individual notes with Newtone, and how to set up a plugin such as Antares AutoTune. We'll keep the steps simple, even if you've never used pitch correction before.
Quick answer: Send your vocal to a Mixer track, load Pitcher or another pitch-correction plugin in an empty effect slot, choose the song's key and scale, and adjust the correction speed. Faster correction gives you a more obvious effect. Slower correction tends to sound more natural.
Which pitch-correction tool should you use?
FL Studio has two tools that work in different ways:
- Pitcher corrects pitch as the vocal plays. Choose it for quick tuning or an obvious hard-tune effect.
- Newtone lets you edit recorded notes one by one. Choose it when only a few notes need fixing or when you want more control.
- A third-party plugin, such as Antares AutoTune Pro, is another option if you prefer its sound or need its extra editing features. It is not required for a hard-tune effect.
Check your FL Studio edition first. Pitcher and Newtone are included with Signature Bundle and All Plugins Edition, or can be purchased separately. If you use Producer Edition, a plugin may appear in a trial state without being included in your license. See Image-Line's edition comparison before assuming you own it.
Step 1: Send your vocal to a Mixer track
Pitcher and most other real-time tuning plugins work as effects on a Mixer track. Make sure your vocal is routed to the track where you plan to add the effect.
- Open your project and locate the vocal audio clip in the Playlist.
- Double-click the vocal clip to open its channel settings.
- Set its TRACK/FX mixer track number to the Mixer insert you want to use. If the Playlist track is already linked as an Audio Track, it may already be routed to a Mixer insert.
- Press F9 to open the Mixer and select that insert.
- Play the song. The level meter on the selected insert should move when the vocal plays.
If the meter does not move, check the clip's Mixer assignment before changing any plugin settings. The Playlist track number and the Mixer insert number are not automatically the same thing for every audio clip. FL Studio's Mixer guide explains how audio reaches an insert.
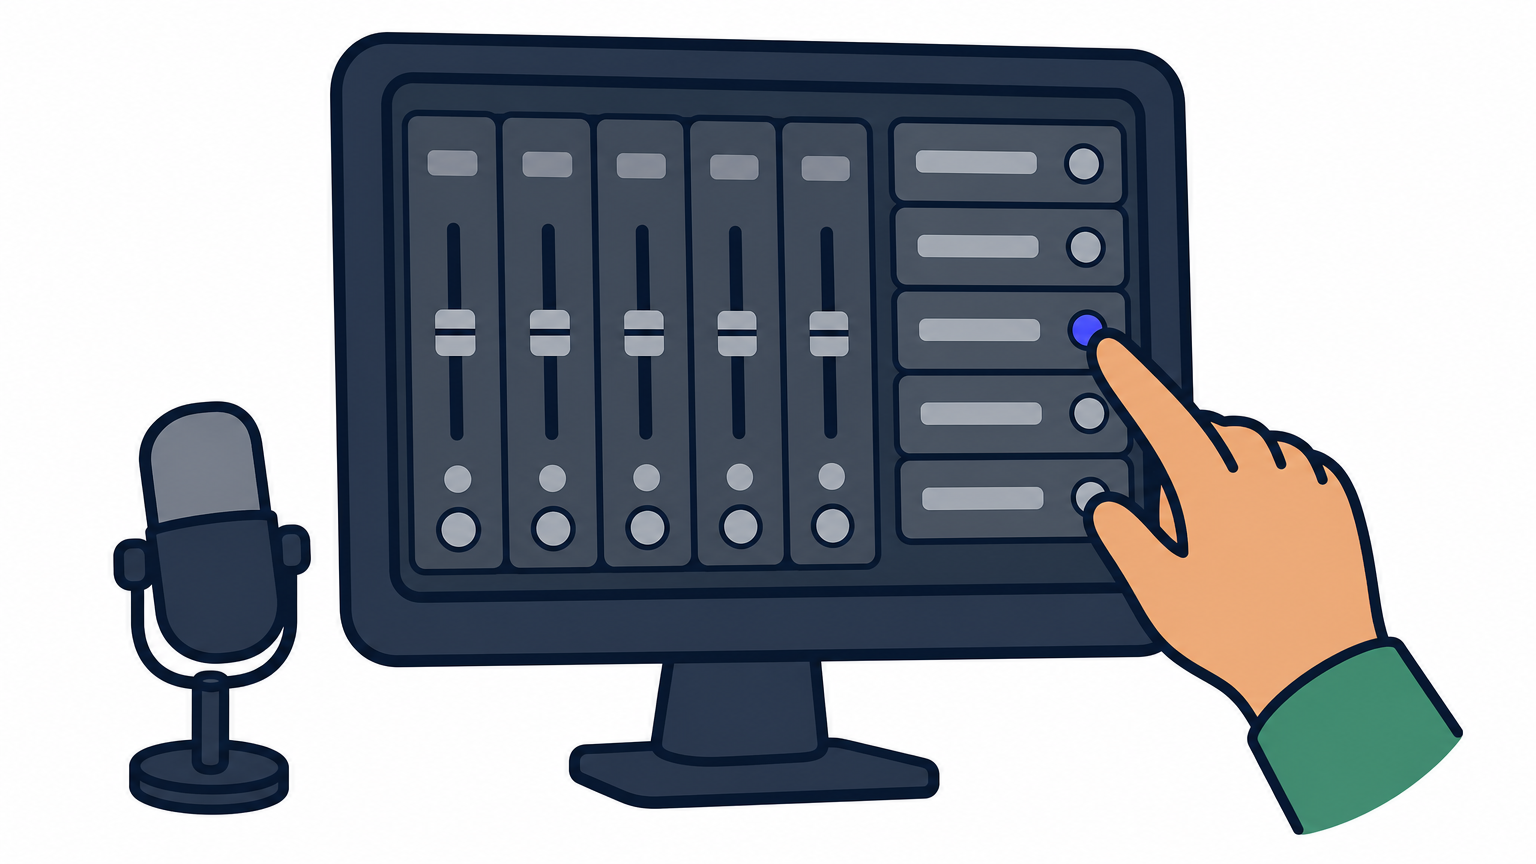
A studio monitor displaying a digital mixer with channel strips and a hand adjusting an effect slot.
Step 2: Add Pitcher to the vocal
- With the vocal's Mixer insert selected, click an empty effect slot on the right side of the Mixer.
- Search for and select Pitcher.
- Put Pitcher near the top of the effect list, before reverb, chorus and other effects that might make it harder to detect the vocal's notes.
- Play a section where the singer holds a clear note. Pitcher's display should respond to the voice.
Effects run from the top slot to the bottom slot in FL Studio. Image-Line recommends giving Pitcher a clean signal before effects such as reverb and chorus. See the official Pitcher manual and effect-slot guide.
Step 3: Choose the right key and scale
Pitch correction needs to know which notes belong in the song. In Pitcher, set the Key and choose a Major or Minor scale. For example, if your song is in A minor, select A as the key and Minor as the scale.
If you don't know the key, check the chords or ask the person who made the beat. A key-detection tool can give you a starting point, but listen to the vocal against the instrumental before trusting its result. Some songs use notes outside a basic major or minor scale. In Pitcher, you can turn individual allowed notes on or off when the preset scale doesn't fit the melody.
Play the chorus after setting the scale. If a note sounds wrong, check the selected notes before turning up the correction. The Pitcher manual explains the Key, Scale and note controls.
A piano keyboard next to a laptop displaying a scale selection menu with highlighted keys.
Step 4: Choose a natural or hard-tuned sound
In Pitcher, the Correction Speed control changes how quickly a note moves to the allowed pitch.
- For a natural sound: Start with slower correction. Turn it faster only until the out-of-tune notes improve.
- For a hard-tune effect: Use fast correction and make sure the key and allowed notes match the melody. The jump between notes becomes more noticeable.
There is no setting that works for every singer. Listen to short notes, long notes and the spaces between them. If the vocal wobbles or jumps to the wrong note, check the scale and the original performance. Pitcher is designed for one note at a time, so a full choir or complete mix is not a good input for it. Image-Line confirms that faster Pitcher settings sound more artificial and slower ones sound more natural in its manual.
How to fix individual notes with Newtone
Use Newtone when you want to fix a specific word rather than tune the whole vocal as it plays.
- Open Newtone and load your vocal recording into it. You can drag an audio file into Newtone or use its Load sample command.
- Wait for Newtone to show the detected notes as blocks.
- Listen to the section that needs fixing. Move a note gently toward the pitch you want. Right-clicking a note snaps it to the nearest semitone.
- Listen again. Avoid flattening every note if you want to keep the singer's natural movement.
- Use Send to Playlist as audio clip to place the edited recording back in your project. Line it up with the original and mute the original to avoid hearing both at once.
Newtone also has controls for adjusting all notes, but small changes to the problem notes are often a clearer place to start. Image-Line describes the note controls and Playlist export in the Newtone manual.
How to use Antares AutoTune in FL Studio
If you have installed a third-party pitch-correction plugin, the setup starts the same way as Pitcher: route the vocal to a Mixer insert and load the plugin in an empty effect slot.
- Install and activate the plugin using the manufacturer's instructions.
- In FL Studio, open Options → Manage plugins and run a plugin scan if it does not appear in your effect list.
- Open the vocal's Mixer insert and add the pitch-correction plugin in an empty effect slot.
- Set the correct key and scale inside the plugin.
- Adjust its tuning speed while listening to the full song.
In AutoTune Pro 11, Auto Mode is for correction while the vocal plays; Graph Mode is for editing notes in detail. Its Retune Speed controls how quickly the pitch changes. Humanize can help long held notes keep more of their natural movement when using a fast Retune Speed. Pitcher has a Correction Speed control, but its controls are not identical to AutoTune's. For installation help, see Image-Line's plugin guide. Antares explains its current modes on the AutoTune Pro page.
If you'd rather start without buying a plugin, see our guide to the best free autotune plugins.
Common problems and quick fixes
I hear no difference
Check that the vocal is routed to the Mixer insert containing the plugin. Make sure the plugin and effect slot are enabled. Then play an obviously off-pitch note and temporarily use a faster correction speed to check that the plugin is working.
The vocal jumps to the wrong notes
Check the song's key, scale and allowed notes. A key detector may suggest the wrong scale. Pitch correction also struggles when the input contains chords, heavy reverb or multiple voices at once.
The vocal sounds too robotic
Slow down the correction speed. In AutoTune Pro, you can also adjust Humanize for long notes. If only one or two notes need work, edit them in Newtone instead of applying strong correction to the whole take.
The vocal sounds delayed while recording
Real-time monitoring can be affected by your audio settings and other plugins on the track. Try a lower audio buffer while recording and turn off effects you do not need for monitoring. Increase the buffer again if playback starts crackling. If you are editing an existing recording, monitoring delay is less important than the sound of the finished mix.
My new plugin does not appear in FL Studio
For a complete troubleshooting checklist, see our FL Studio not detecting VST plugins guide.
Run a scan in Options → Manage plugins. Check that the plugin installed in a location FL Studio searches and that you installed an effects version compatible with your computer. Image-Line recommends a verified scan when a new plugin is missing; see its installation guide.
Frequently asked questions
Does FL Studio have built-in autotune?
Yes. Pitcher provides real-time pitch correction, while Newtone lets you edit recorded notes. They are included with Signature Bundle and All Plugins Edition or available separately. Check your license before assuming they are included.
Can Pitcher make a T-Pain-style effect?
Yes. Choose the right key and allowed notes, then use a fast Correction Speed for an obvious hard-tune sound. The performance, melody and other vocal effects also affect the final result. You do not need Antares solely to make the pitch changes audible.
Is Pitcher or Newtone better?
Use Pitcher when you want the effect to work as the vocal plays. Use Newtone when you want to inspect and edit individual notes in a recorded take. You can use both if the song needs it.
Can I use free autotune plugins in FL Studio?
Yes, if the plugin supports a format and operating system that your FL Studio setup can load. Install it, scan for plugins, then add it to the vocal's Mixer insert. See our free autotune plugin comparison for options.
Start with the vocal, then choose the tool
For most songs, the quickest way to use autotune in FL Studio is to route the vocal to a Mixer insert, add Pitcher, set the right key and scale, and adjust Correction Speed by ear. Choose Newtone when individual notes need careful editing. Try a third-party plugin when its features or sound solve a need your current tools do not.
![[background image] image of recording equipment (for a musician & band)](https://cdn.prod.website-files.com/68efa70811edd8e5af30a90d/6acd43b8998701bbde84e11a_Best%20Export%20Settings%20for%20FL%20Studio.png)
![[background image] image of recording equipment (for a musician & band)](https://cdn.prod.website-files.com/68efa70811edd8e5af30a90d/6acd3f9347bd0dd62b202621_ShaperBox%203%20vs%20Infiltrator%202.png)
![[background image] image of recording equipment (for a musician & band)](https://cdn.prod.website-files.com/68efa70811edd8e5af30a90d/6acd3d99fa68785e0f58960e_Kontakt%208%20vs%20Decent%20Sampler.png)