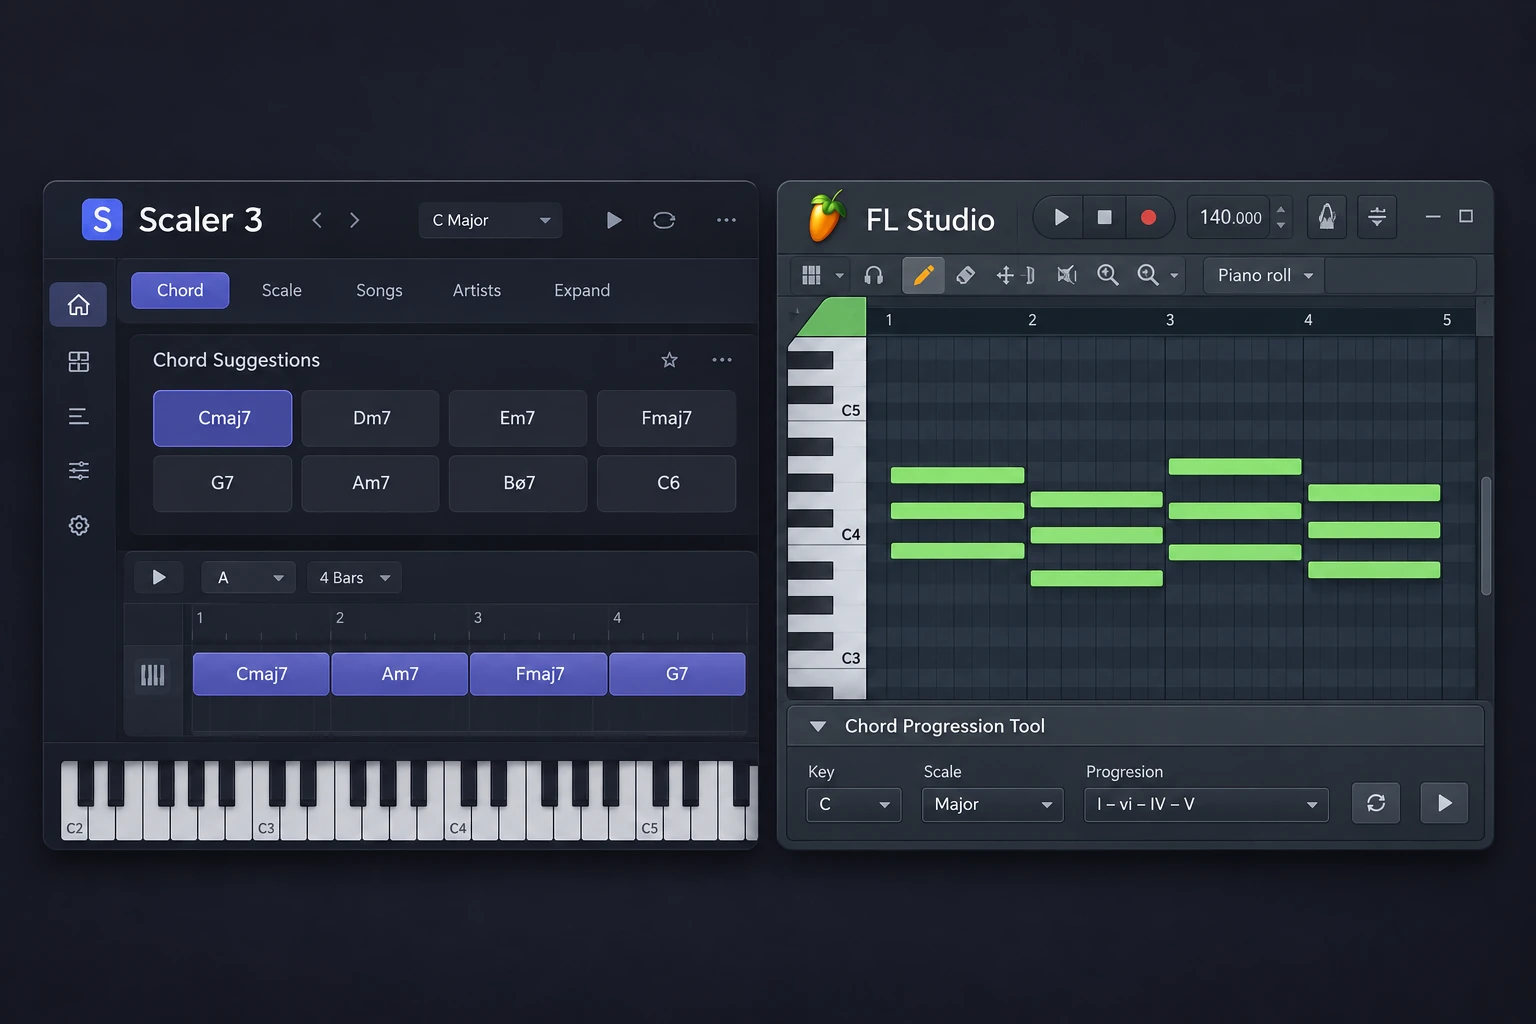

Start with FL Studio’s Chord Progression Tool if you want four chords under a beat and plan to edit them in the Piano Roll. Scaler 3 makes more sense if you repeatedly turn those chords into basslines, arpeggios or phrases and want to hear the parts change together as you revise the harmony. Both can help you find a better fourth chord. The buying decision is how often you need the extra writing workspace after that.
Below is one four-bar exercise you can repeat in both tools. The steps come from the manufacturers’ documentation, and the screenshots show their examples. The exercise gives you a way to compare the workflows in your own project.
Scaler 3 vs FL Studio Chord Progression Tool: Comparison Table
| Decision | FL Studio Chord Progression Tool | Scaler 3 |
|---|---|---|
| Start with a blank pattern | Generate and edit chords on the selected FL instrument | Browse chord sets or build a Main Track in Scaler |
| Write around notes you already have | Analyze notes already in the Piano Roll | Detect chords and suggest scales from incoming MIDI or imported MIDI and audio |
| Try a different last chord | Replace, regenerate or lock individual chord blocks | Audition alternatives or edit the chord on the Main Track |
| Add movement | Use the Performance tab or edit notes in the Piano Roll | Add Motions on separate lanes that can follow the Main Track |
| Use the result | Accept into the selected FL pattern | Export MIDI or set up routing back to the DAW |
| Extra cost for FL users | Included in all current desktop editions | Separate license. $99 regular at Plugin Boutique. $69 through December 7, 2026 |
The same four-bar chord exercise in both tools
Open an empty FL Studio project at 90 BPM in 4/4. Pick one plain polyphonic piano or keys patch and use it to audition both versions. Make a separate chord pattern and a melody pattern so the top line stays identical when you change the harmony.
| Bar | Chord | Chord notes | Held melody note |
|---|---|---|---|
| 1 | Cmaj7 | C, E, G, B | E |
| 2 | Am7 | A, C, E, G | G |
| 3 | Fmaj7 | F, A, C, E | A |
| 4 | G7 | G, B, D, F | C |
Give each chord one bar and put the melody notes above the chord voicings. Your task is to keep bars one through three and change only bar four from G7 to Gsus4. Gsus4 contains G, C and D. With G7, the melody’s C sits a semitone above the chord’s B by pitch class. Gsus4 puts C inside the chord and changes the way the loop turns back to Cmaj7.
Listen to the transition from bar four into bar one. Keep the bass root G, match the volumes and use similar voicings for the unchanged bars. If a higher voicing or a louder patch changes your preference, you’re hearing more than the chord swap.
Build and revise it in FL Studio

Where the native tool saves effort
The notes land on the instrument you’re already using. If you want a shorter last chord, a different inversion or a less busy voicing, you can finish it where the rest of the beat already lives. You can also use Analyze with notes already in the Piano Roll to generate a possible accompaniment. Work on a copy and check the setting for existing notes if you want to retain the melody in that same pattern.
Use the same progression in Scaler 3
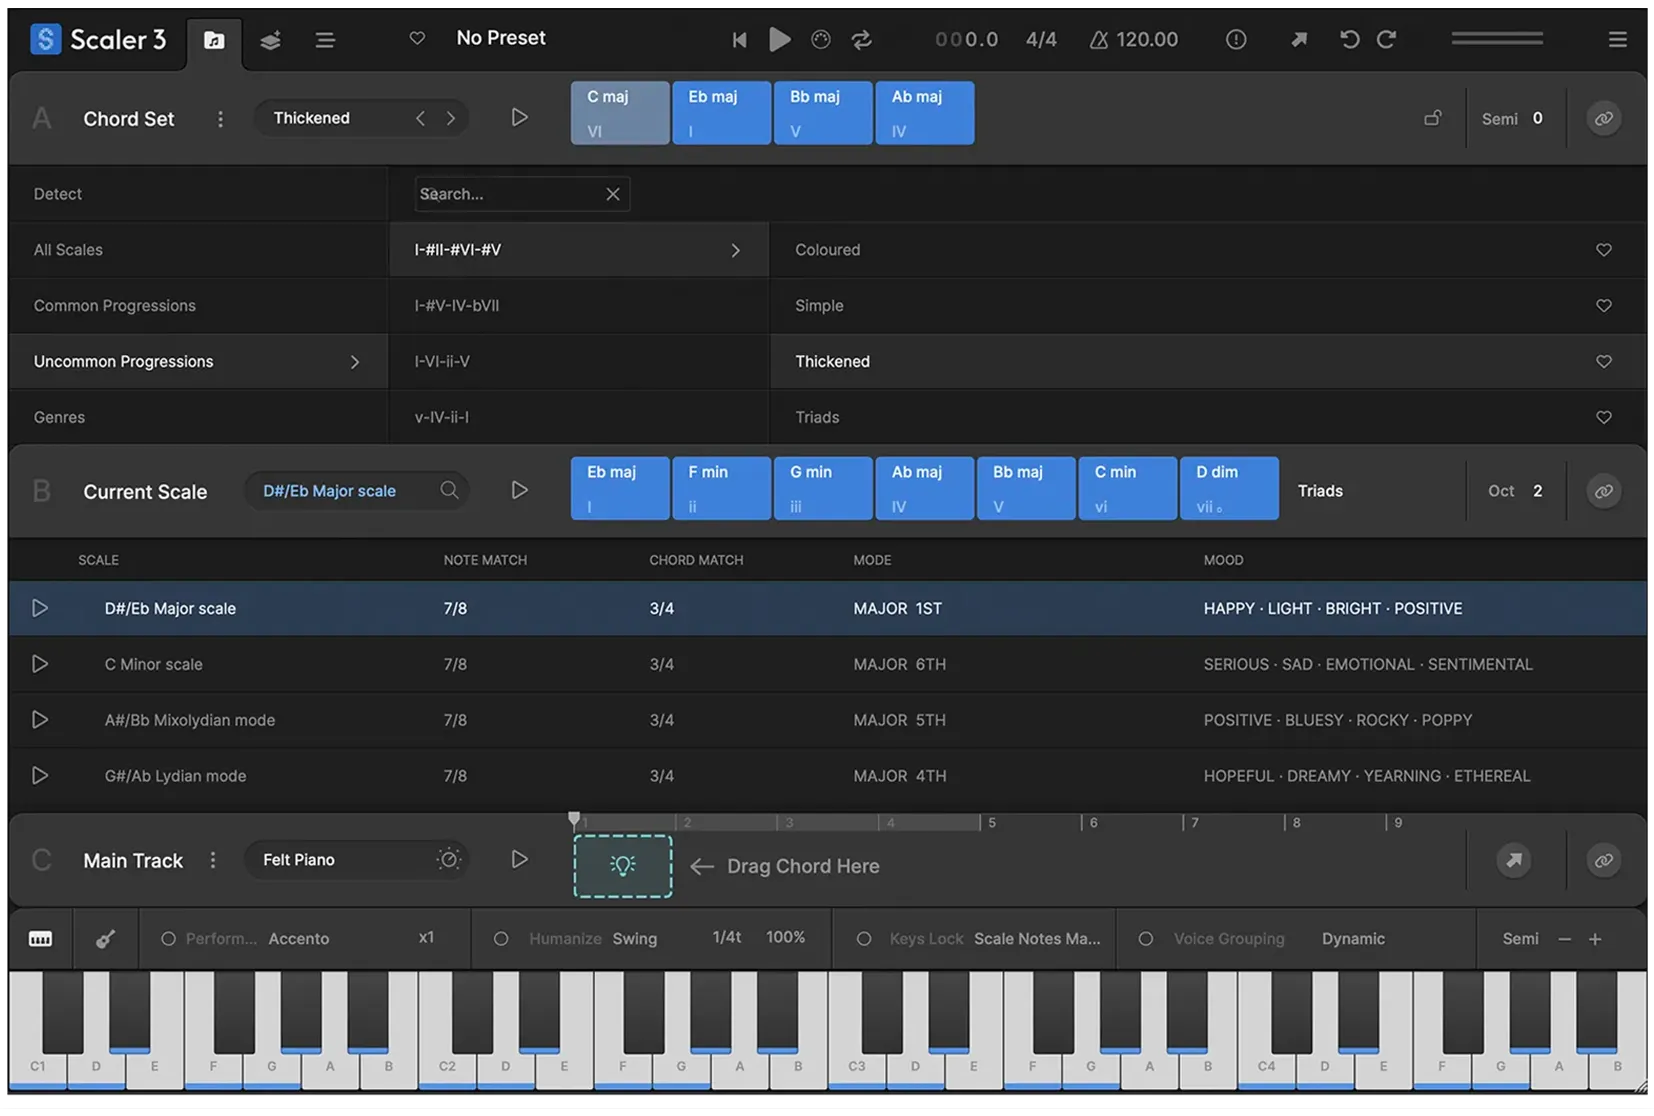
Now try the step that can justify buying Scaler
In Scaler’s Arrange view, use the + control to browse Motions. Add a simple bass Motion on one lane and an arpeggio on another, with both following the Main Track. Alternate between G7 and Gsus4 in bar four and listen to whether the accompanying parts stay useful when the harmony changes. For the original chord-only comparison, export before adding these lanes so you don’t merge their notes into the piano part.
Listen for two things. The bass can keep G under both versions, while the arp is where you can hear how the harmony responds. If the arp still plays B over the held C after the swap, check whether its Motion follows the Main Track and inspect the notes in bar four. Keep the version you want and use Export → MIDI Export → Multi Track to save separate MIDI files for the piano, bass and arp. Import each part onto its own FL channel. To bring over later edits, export again or set up live MIDI routing.
Where the workflows separate
If you usually start from a melody
Try FL’s Analyze mode first when the melody is already in your project. It can suggest a progression against the notes you’ve written, and you can keep working in the same Piano Roll. Scaler’s Detect is useful when you want to inspect a progression you played or brought in as a MIDI or audio file. Its scale suggestions and chord browser help you explore where to take it next. Detection depends on the material, so start with a clean chord recording or a clear MIDI part if you want a more interpretable result.
If you need an arp on one sound and bass on another
FL’s Performance tab can turn the chord progression into arpeggiated or chopped notes. You can build the other part on a separate FL channel and edit both by hand. Scaler adds a place to keep multiple parts following the same harmony while you sketch. If you already like how quickly you can copy and edit patterns between FL channels, the advantage of adding Scaler gets smaller.
If you write in more than one DAW
The FL tool is part of FL Studio’s Piano Roll. Scaler 3 also has a standalone desktop mode and can run as a plugin in supported hosts. That matters if you sketch away from your FL project or share ideas with collaborators in other DAWs. MIDI export preserves the notes and their timing. The receiving project still needs its own instruments and effects.
SoundShaper’s buying recommendation
Use the FL tool first if your usual task is finding chords for a loop, trying a different last chord or fitting chords around a melody. The included tool already covers those jobs and keeps the result in your project.
Consider Scaler 3 if you repeatedly lose time building several musical parts around changing chords, or want a dedicated place to explore chord sets and keep variations before moving into your DAW. Try the two-lane Motion exercise on a real beat. If you end up keeping both parts and want to repeat the workflow, you have a reason to buy.
On November 9, 2026, Plugin Boutique listed the full Scaler 3 license at $69 through December 7, 2026. The retailer showed $99 as the regular price. Check the current checkout price and make sure you’re looking at the full product if you don’t own a qualifying Scaler license. For the broader feature breakdown, read the SoundShaper Scaler 3 review. For other current offers, browse the VST plugin deals page.
Frequently asked questions
Is the FL Studio Chord Progression Tool included in Fruity Edition?
Yes. Image-Line lists its Chord Generator under core features included in all current desktop editions, including Fruity Edition. If you don’t see it, check the Piano Roll Tools menu and make sure you’re using an up-to-date desktop version.
Do I need to route MIDI from Scaler 3 to use it in FL Studio?
For the exercise above, export a MIDI file from Scaler and import it into the Piano Roll of your FL instrument. Set up live MIDI routing only if you want Scaler to drive that instrument in real time while you make changes.
Can FL Studio already generate notes around my melody?
Yes. The Chord Progression Tool’s Analyze mode can generate a suggested progression from existing Piano Roll notes. Its Keep setting can preserve those notes while you explore an accompaniment. Audition the result against the melody and edit the voicings where needed.
Documentation used for this comparison is available in the Image-Line Chord Progression Tool manual and the Scaler 3 feature guide.


