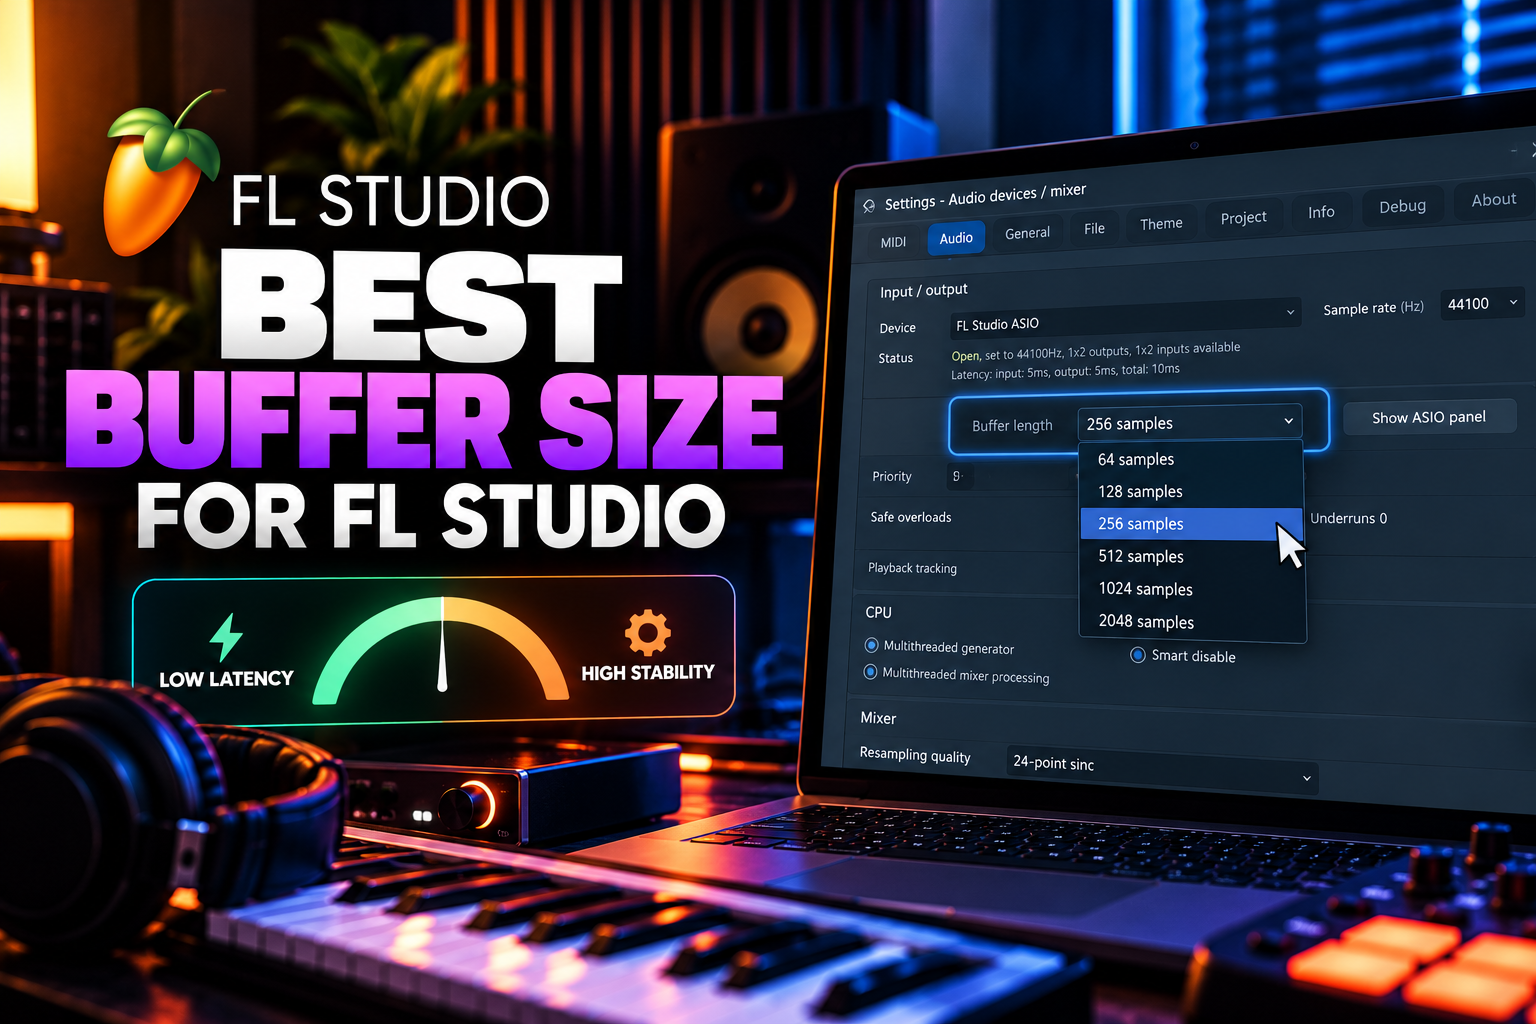

The best buffer size for FL Studio depends on what you are doing and which CPU platform you use. A smaller buffer gives you lower monitoring latency, while a larger buffer gives FL Studio more time to process plugins without crackling.
For many producers, the practical choices are 128, 256, 512 and 1024 samples. But those numbers do not mean the same thing on every system.
Quick answer: on Apple Silicon, start at 128 samples. On Windows and Intel/AMD systems, 512 samples is a safer general starting point. Use 128 or 256 only when you need lower recording/MIDI latency and the project stays stable. For mixing, 512 or 1024 samples is usually more practical.
128 vs 256 vs 512 samples: the simple answer
| Buffer size | Best use | Main advantage | Main downside |
|---|---|---|---|
| 128 samples | Recording, live MIDI, Apple Silicon starting point | Very responsive | Least CPU headroom |
| 256 samples | Recording and general production | Good latency/stability compromise | May still crackle in heavy projects |
| 512 samples | General production and mixing | Much more CPU headroom | More noticeable monitoring delay |
| 1024 samples | Heavy mixing/mastering | Maximum stability | Poor choice for live monitoring |
There is one important platform difference: Image-Line currently recommends 128 samples as the starting point on Apple Silicon Macs, because that setting helps activate the performance cores. On Intel and AMD systems, Image-Line generally recommends a longer buffer around 10–20 ms, roughly 440–880 samples.
What does buffer size actually do?
FL Studio generates audio in small blocks before sending it to your audio device. The buffer is the amount of audio FL Studio has ready in advance.
A small buffer means FL Studio sends audio more frequently. Your keyboard, microphone or controls feel more responsive, but the CPU has less time to finish each block.
A large buffer gives the CPU more time. That reduces crackles and underruns, but increases the delay between playing something and hearing it.
This is why buffer size is not an audio-quality setting. It is a latency vs CPU headroom setting.
How many milliseconds is 128, 256 or 512 samples?
The time represented by a buffer depends on the project sample rate.
| Buffer | 44.1 kHz | 48 kHz |
|---|---|---|
| 128 samples | ≈ 2.9 ms | ≈ 2.7 ms |
| 256 samples | ≈ 5.8 ms | ≈ 5.3 ms |
| 512 samples | ≈ 11.6 ms | ≈ 10.7 ms |
| 1024 samples | ≈ 23.2 ms | ≈ 21.3 ms |
These numbers are the duration of one buffer, not your complete round-trip recording latency. Your interface, driver, input buffer, output buffer and plugins can all add extra delay.
Best buffer size for recording vocals in FL Studio
For vocals, use the lowest stable buffer your system can handle while monitoring.
On an Apple Silicon Mac, start with 128 samples. On a Windows system with a good native ASIO driver, test the lower settings your interface supports, but do not force 128 or 256 if FL Studio starts producing underruns.
If the project is already heavy, a low buffer may be impossible. In that case, bypass high-latency plugins, render the instrumental to audio or use your interface's direct-monitoring feature.
For a deeper walkthrough, see our guide to reducing latency in FL Studio.
Best buffer size for MIDI keyboards
If you play a software piano, synth or drum instrument live, latency matters because the delay changes how the instrument feels.
128 samples is excellent when stable. 256 samples is a useful compromise when 128 starts causing CPU spikes or crackling.
On Intel/AMD systems, Image-Line cautions that extremely short buffers can increase CPU load rapidly. So if a Windows project feels fine around 10 ms, there is no prize for forcing the driver down to the smallest possible setting.
Best buffer size for beatmaking and producing
For normal production, you usually do not need the absolute lowest latency.
256 or 512 samples is a practical range. Use 256 if you regularly play parts live. Move to 512 as the project gets larger and you begin adding more effects, synths and processing.
The useful habit is changing the buffer with the project stage instead of choosing one setting forever.
Best buffer size for mixing
For mixing, 512 or 1024 samples is usually more sensible than 128.
You are no longer trying to perform a synth or monitor a microphone in real time. The extra latency does not matter much, while the extra processing time can help large sessions remain stable.
A larger buffer is especially useful when the project contains convolution reverbs, oversampling, mastering plugins or many CPU-heavy instruments.
Best buffer size on Apple Silicon Macs
Apple Silicon behaves differently from older Intel systems.
Image-Line currently recommends starting at 128 samples, then moving through 192, 256, 512 and 1024 samples if necessary.
The reason is unusual: very short buffers can help activate the performance cores. Image-Line notes that this is effectively the opposite of the usual Intel/AMD behavior, where longer buffers generally reduce CPU pressure.
So if you are using an M-series Mac, do not automatically assume 512 samples is always more efficient than 128.
Best buffer size on Windows / Intel / AMD
Image-Line recommends roughly 10–20 ms, or about 440–880 samples, as a normal operating range for Intel and AMD processors.
At 44.1 kHz, 512 samples is about 11.6 ms, which places it directly inside that range.
For live recording, use a smaller setting only when your driver and project remain stable. Image-Line notes that CPU use rises quickly below roughly 10 ms on these systems.
Is 128 samples better than 256?
Only if you need the lower latency and your computer can run it reliably.
At 48 kHz, 128 samples represents about 2.7 ms per buffer, compared with about 5.3 ms at 256. That difference can feel useful when playing a keyboard or monitoring live input.
But 256 gives the CPU roughly twice as much buffer time to finish its work. If 128 causes crackling, 256 is the better setting even though the theoretical latency is higher.
Is 256 samples better than 512?
For recording and live playing, often yes. For mixing, often no.
256 gives lower latency. 512 gives more processing headroom.
If you are not actively monitoring or playing through FL Studio, there is little reason to keep the project at 256 just because the number looks better.
Does a larger buffer improve audio quality?
No. A larger buffer does not make your exported WAV sound better.
It simply gives FL Studio more time to calculate real-time audio. Your render quality is controlled by other settings, not by whether you mixed at 128, 512 or 1024 samples.
Why does FL Studio crackle at 128 samples?
The CPU does not have enough time to complete the next audio block before the buffer deadline.
Raise the buffer to 256 or 512 and test again. If the crackling disappears, the short buffer was the problem.
If the project still crackles at larger settings, check the audio driver, CPU meter and heavy plugins. Our FL Studio crackling guide covers that troubleshooting process.
Why does FL Studio feel delayed at 512 samples?
Because 512 samples already represents roughly 10–12 ms for one buffer at common sample rates, before the rest of the input/output path is added.
That is usually fine for mixing but can feel disconnected when playing keys, finger-drumming or monitoring your own voice.
Drop to 256 or 128 if the system remains stable, or use direct monitoring for recorded audio.
Should I use 1024 samples?
Yes, when latency does not matter.
1024 samples is useful for large mixing or mastering projects because the CPU gets much more time to process every block. It is a poor choice for live MIDI or software monitoring because the delay becomes obvious.
Think of 1024 as a stability setting, not a performance setting.
Does changing sample rate change buffer latency?
Yes. The same number of samples takes less time at a higher sample rate.
For example, 512 samples lasts about 11.6 ms at 44.1 kHz but around 10.7 ms at 48 kHz.
However, raising the sample rate also makes the CPU process more samples per second. Going from 48 to 96 kHz just to reduce buffer latency is usually a poor trade-off unless you have another reason to use that sample rate.
Where do I change buffer size in FL Studio?
Open Options → Audio settings.
On Windows with an ASIO driver, click Show ASIO panel. The exact buffer control is provided by the driver developer, so it can look different between interfaces.
On macOS, FL Studio exposes the Core Audio buffer setting directly in the Audio Settings page.
My recommended FL Studio buffer settings
| Workflow | Starting point | Then adjust if needed |
|---|---|---|
| Apple Silicon recording / MIDI | 128 samples | 192 → 256 if unstable |
| Windows / Intel recording | Lowest stable native-ASIO setting | Increase until underruns stop |
| General producing | 256–512 samples | Increase as the project grows |
| Mixing | 512 samples | 1024 for heavy sessions |
| Mastering | 512–1024 samples | Latency is usually irrelevant |
The key rule is simple: use the smallest buffer that is stable when you need responsiveness, and a larger buffer when you need CPU headroom.
Frequently asked questions
Is 512 samples too high for FL Studio?
No. 512 is a very practical production and mixing setting. It can feel too delayed for live monitoring, but that does not make it a bad setting overall.
Is 128 samples good for FL Studio?
Yes, especially on Apple Silicon where Image-Line recommends it as the starting point. On Intel/AMD systems, use it only if the project and driver remain stable.
Is 256 samples good for recording?
Yes. It is often a useful compromise when 128 crackles but 512 feels too delayed.
What buffer size should I use for vocals?
Use the lowest stable setting while recording, often 128 or 256 on capable systems. If monitoring remains delayed, use direct monitoring or simplify the plugin chain.
What buffer size should I use for mixing?
512 or 1024 samples is usually more practical because low monitoring latency is not important and the CPU gets more processing time.
Does buffer size affect export quality?
No. Buffer size mainly affects real-time playback latency and stability.
Why can't I change buffer size inside FL Studio on Windows?
With many ASIO drivers, the buffer is controlled by the driver's own panel. Click Show ASIO panel in Audio Settings.
Final answer
Use 128 samples when low latency matters and your system is stable, 256 as a compromise, and 512 or 1024 when stability matters more than responsiveness.
On Apple Silicon, start at 128 samples as Image-Line recommends. On Intel/AMD systems, around 10–20 ms — roughly 440–880 samples — is the more typical recommended range.
There is no universal “best” number. The best buffer is the one that gives you the responsiveness you need without audio underruns.
Official references
For the underlying buffer and performance guidance, see Image-Line's Audio Settings manual, FL Studio performance optimization guide and ASIO setup guide.
![[background image] image of recording equipment (for a musician & band)](https://cdn.prod.website-files.com/68efa70811edd8e5af30a90d/6acd43b8998701bbde84e11a_Best%20Export%20Settings%20for%20FL%20Studio.png)
![[background image] image of recording equipment (for a musician & band)](https://cdn.prod.website-files.com/68efa70811edd8e5af30a90d/6acd3f9347bd0dd62b202621_ShaperBox%203%20vs%20Infiltrator%202.png)
![[background image] image of recording equipment (for a musician & band)](https://cdn.prod.website-files.com/68efa70811edd8e5af30a90d/6acd3d99fa68785e0f58960e_Kontakt%208%20vs%20Decent%20Sampler.png)